The tittle sounds confusing right ?
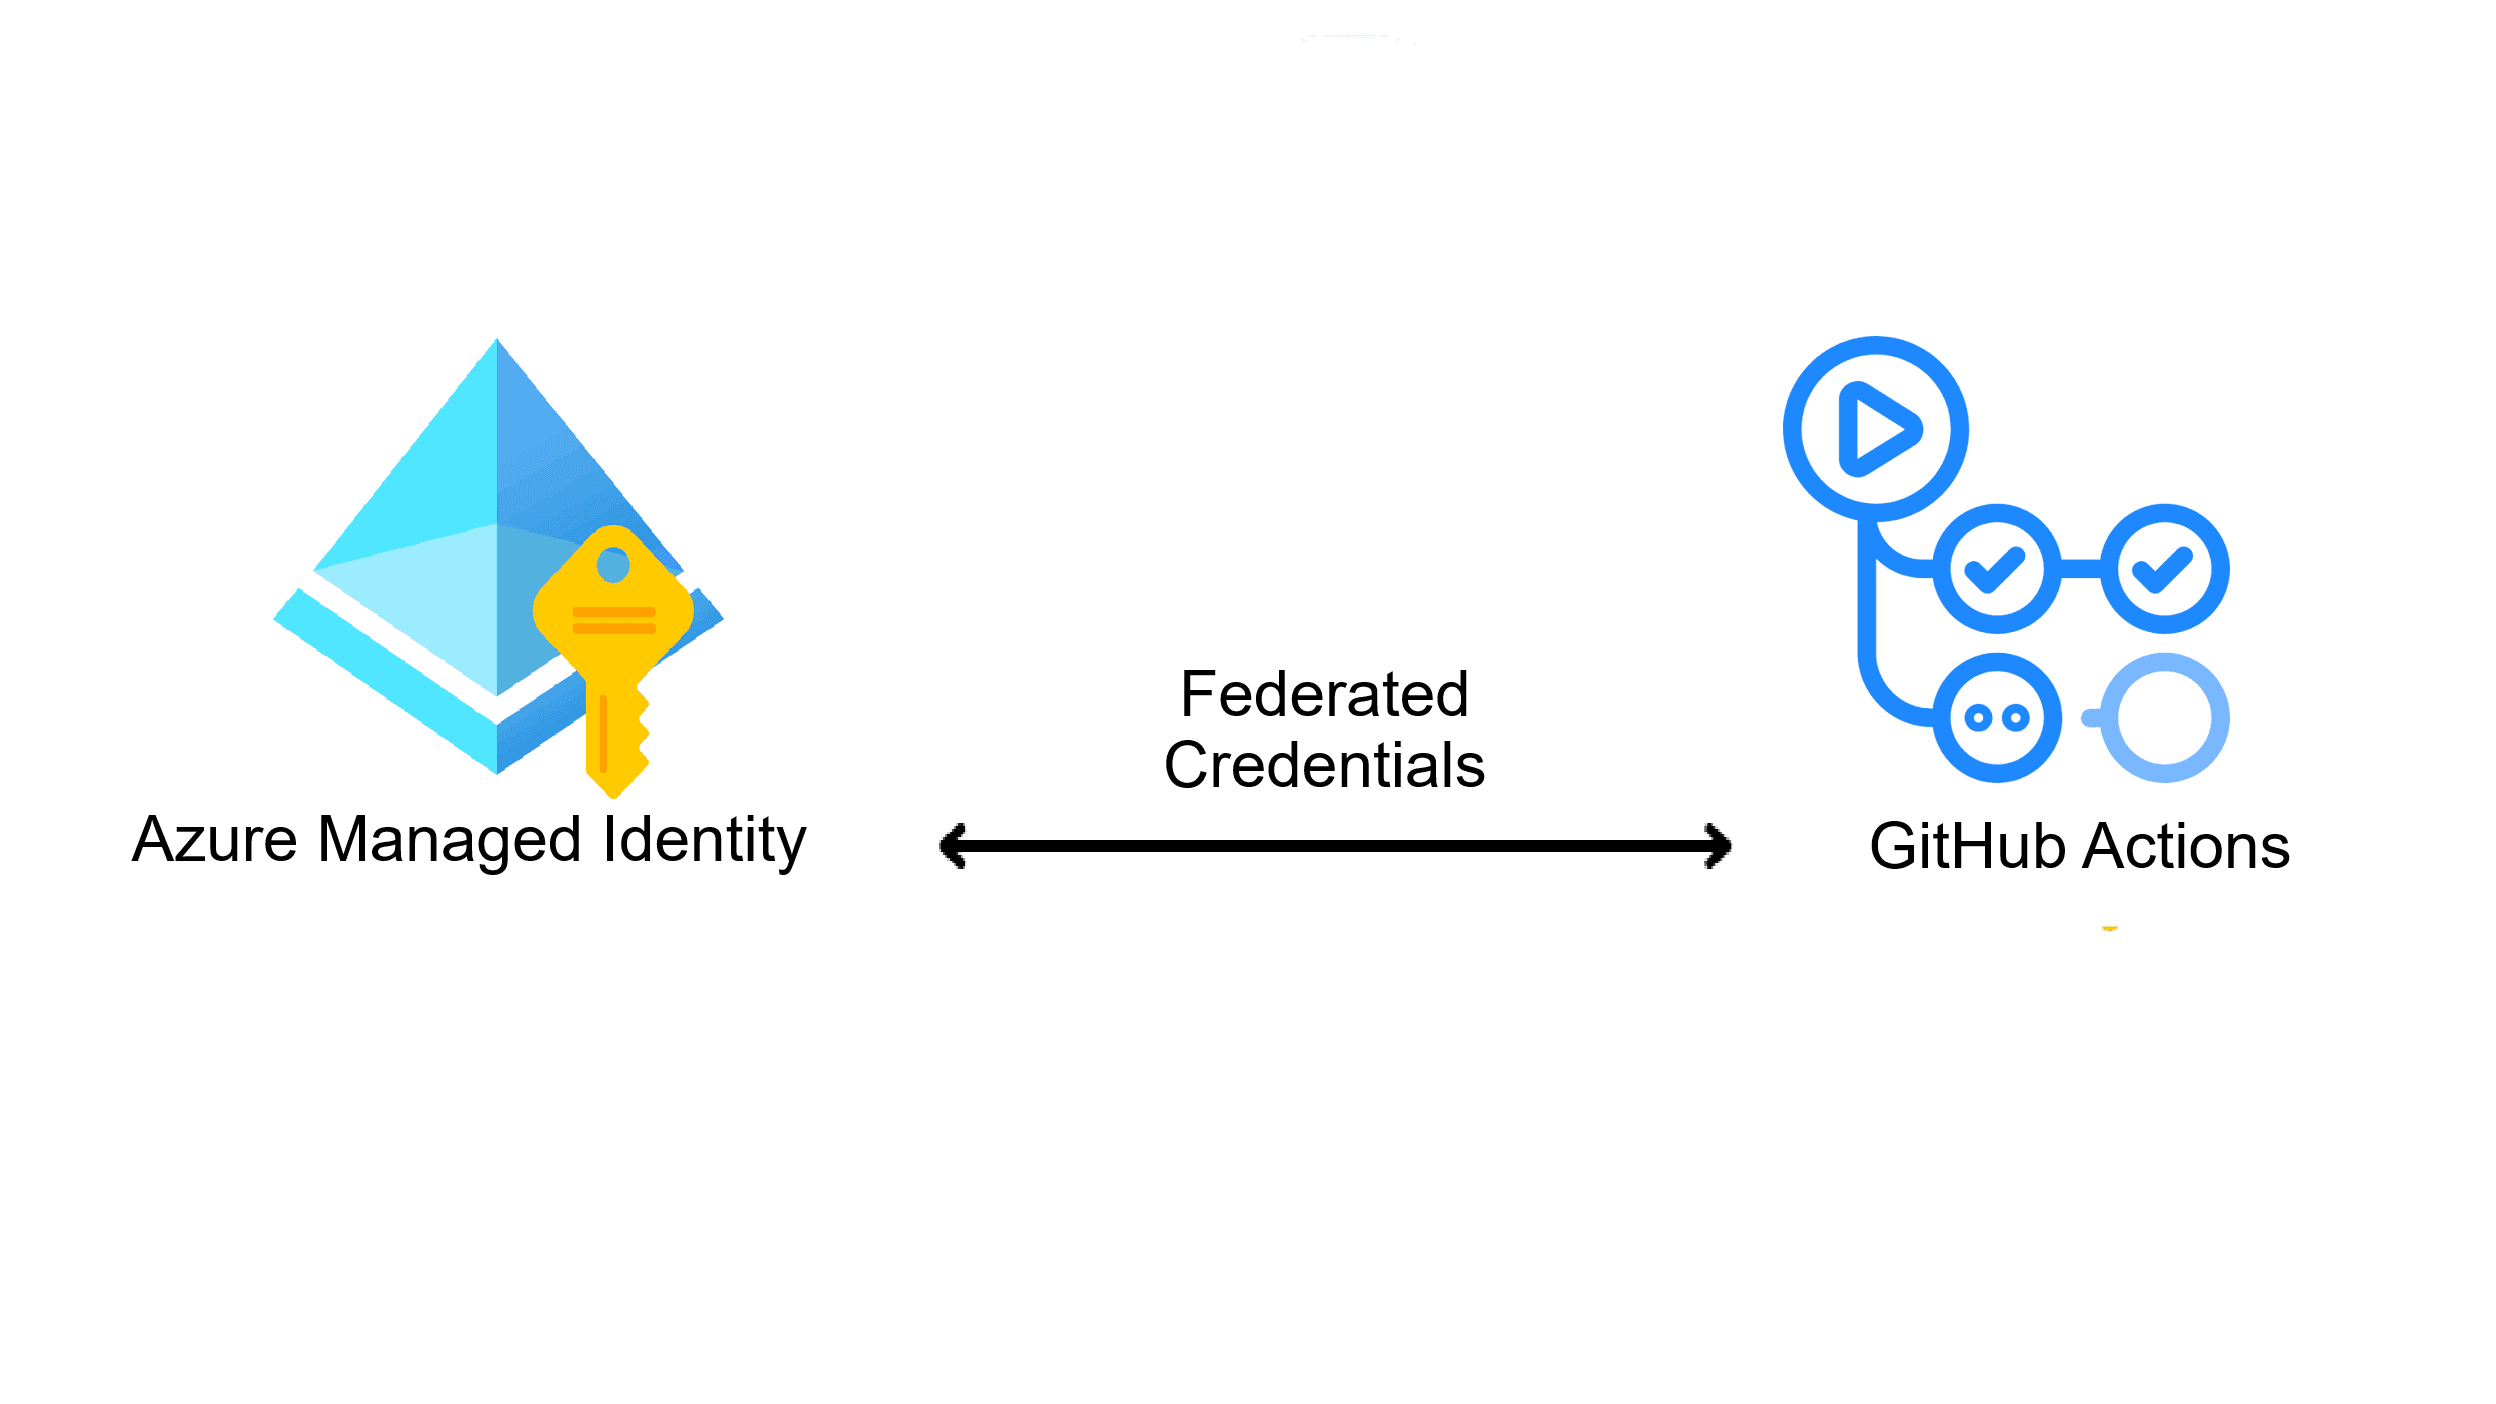
So how to access Azure services with federated credentials that are tied with User Managed Identities ? Even I was skeptical if it is even possible because its more common and widely known that federated identity credentials (OIDC federation) are tied with service principal and not managed identities.
In this article I am going to delve into details on how to achieve this. But before that I strongly recommend reading the following article
https://www.azureguru.net/configuring-federated-credentials-in-microsoft-azure-using-github-actions
that I published last year, which provides a detailed walkthrough of configuring federated credentials using GitHub actions as IdP (Identity Provider) through service principal.
Before we set up and test GitHub actions lets first ensure that a defined User Managed Identity can access the Azure ADLS GEN2 storage. For that lets create an Azure Function and use an user managed identity in the Azure Function to access Azure storage.
User Managed Identity
Create a new user managed identity or use an existing one. I created one with name Federated_Credentials_Function_Identity .
In the next step grant role access Storage Blob Data Owner to the created Managed Identity that needs access to the Azure storage.

You could also grant Storage Blob Data Contributor role but the Storage Blob Data Owner role has POSIX access control (ACL access) that auto grants all the (r-w-x) privileges to the owner for all the underlying objects under the container.
For instance in the following screenshot we can see that the owner i.e. the Storage Blob Data Owner was auto assigned the (r-w-x) access .

Note down the ClientID of the created User Managed Identity. We will need it to reference in our Azure Function.

Azure Function Code
Create a new Azure function and add the following code.
Before that ensure that you have added all the required project references.
using Azure.Identity;
using Azure.Storage.Files.DataLake;
using Microsoft.AspNetCore.Http;
using Microsoft.AspNetCore.Mvc;
using Microsoft.Azure.Functions.Worker;
using Microsoft.Extensions.Logging;

namespace AzureFunction;

public class Function1
{
    private readonly ILogger<Function1> _logger;
    public static List<string> listoutput = new();

    public Function1(ILogger<Function1> logger)
    {
        _logger = logger;
    }

    [Function("Function1")]
    public async Task<OkObjectResult> Run([HttpTrigger(AuthorizationLevel.Anonymous, "get", "post")] HttpRequest req)
    {
        {
            string storageAccount = "Storage Account";
            string fileSystemName = "Storage Container";
            string userAssignedClientId = "Managed Identity ClientID";
            DataLakeServiceClient datalake_Service_Client;
            DataLakeFileSystemClient dataLake_FileSystem_Client;
            try
            {
                string dfsUri = $"https://{storageAccount}.dfs.core.windows.net";

                var credential = new DefaultAzureCredential(new DefaultAzureCredentialOptions
                {
                    ManagedIdentityClientId = userAssignedClientId,

                });

                datalake_Service_Client = new DataLakeServiceClient(new Uri(dfsUri), credential);
                dataLake_FileSystem_Client = datalake_Service_Client.GetFileSystemClient(fileSystemName);
                DataLakeDirectoryClient rootDirectory_ = dataLake_FileSystem_Client.GetDirectoryClient("");
                listoutput.Clear();

                return new OkObjectResult(new
                {
                    Output = TraverseDirectory(rootDirectory_)
                });
            }
            catch (Exception ex)
            {
                _logger.LogError(ex, "Error accessing ADLS Gen2");

            }

            return new OkObjectResult("");

        }

    }

    public static async Task<List<string>> TraverseDirectory(DataLakeDirectoryClient directoryClient)
    {

        await foreach (var item in directoryClient.GetPathsAsync())
        {
            if (item.IsDirectory == true)
            {
                listoutput.Add(item.Name);
                string[] split = item.Name.Split("/");
                var subDir = directoryClient.GetSubDirectoryClient(split.Length == 1 ? split[0] : split[split.Length - 1]);
                await TraverseDirectory(subDir);
            }
        }

        return listoutput;
    }
}
The above code returns only the top level directories of the given container. It is a simplified version of the code from the article here that recursively returns hierarchical directory structure for a given Azure storage container.
Deploy the above code to Azure, execute it and verify that it returns all the subdirectories within the specified container.

Following is the output from the execution of the Azure function.

Now that Federated_Credentials_Function_Identity which is an User Managed Identity can access the Azure storage , in the next step we can go ahead and create federated credentials tied to this specific User Managed Identity.
Go back to the created User Managed Identity on the Azure portal and click Federated Credentials option followed by Add Credentials .

In the next window, select GitHub Actions deploying Azure resources option under Federated credential scenarios.

In the next step, enter the following details on Edit Federated Credential page

Organization is the username or organization name of the repo
Repository is the name of the repository that you want to use. By default it also will be the name of the Federated Credentials.
Entity is the type of entity. Following are the available options .

Click Update and double check if the Federated Credential is created.

In this example the Federated Credentials is named GitHubActions
We now need to set the environment variables for the GitHub repository.
Go to the GitHub repository and under Secrets and variables

and under Actions declare the following Repository secrets that you see in the screenshot below and enter their corresponding values

Fetch the values for Azure_Client_ID and Azure_Subscription_ID from the User Managed Identity that was set for GitHub actions. The value for secret Azure_Tenant_Id will be the Azure Tenant Id.

The Azure_Storage_Account value should be the ADLS Gen2 storage account from which you want to retrieve the directory structure.
In next step , Go to the GitHub repo and under Actions select New WorkFlow

and then under Simple Workflow click Configure

and add the following code to the *. yml file. In this example the file is named Workflow.yml
name: GitHubActions Azure Federated Credentials Demo

on:
  push:
    branches:
      - main

jobs:
  auth-azure:
    runs-on: ubuntu-latest

    permissions:
      id-token: write
      contents: read

    steps:
      - name: 'Login to Azure with OIDC federated credentials'
        uses: azure/login@v2
        with:
          client-id: ${{ secrets.AZURE_CLIENT_ID }}
          tenant-id: ${{ secrets.AZURE_TENANT_ID }}
          subscription-id: ${{ secrets.AZURE_SUBSCRIPTION_ID }}

      - name: Show success message
        run: echo "Successfully authenticated for Azure using federated credentials!"

      - name: Get List of Folders
        uses: azure/cli@v2
        with:
          azcliversion: latest
          inlineScript: |
            echo "Fetching all directories..."

              FOLDERS=$(az storage fs file list \
            --account-name "${{ secrets.AZURE_STORAGE_ACCOUNT }}" \
            --file-system customers \
            --auth-mode login \
            --query "[?isDirectory].name" \
            --output table)

            echo "Available folders:"
            echo "$FOLDERS"
The code above logins into the Azure tenant based on the Environment variables set for the repository and lists recursively outputs all the directories for the given container (customers container in this example).
Commit the changes

As expected, the output contains all the underlying directories of container customers.

Execution>>

Conclusion
In this article, we explored how to configure Federated Credentials for a User Managed Identity, enabling password less authentication to Azure services for external Identity providers. By leveraging workload identity federation, you can grant external workloads (like GitHub Actions, Kubernetes workloads) access to Azure resources using short-lived tokens through federated credentials.
I hope this guide helps you to get started on implementation of federated credentials with User Managed Identities in your Azure environments.
Thanks for reading !!!