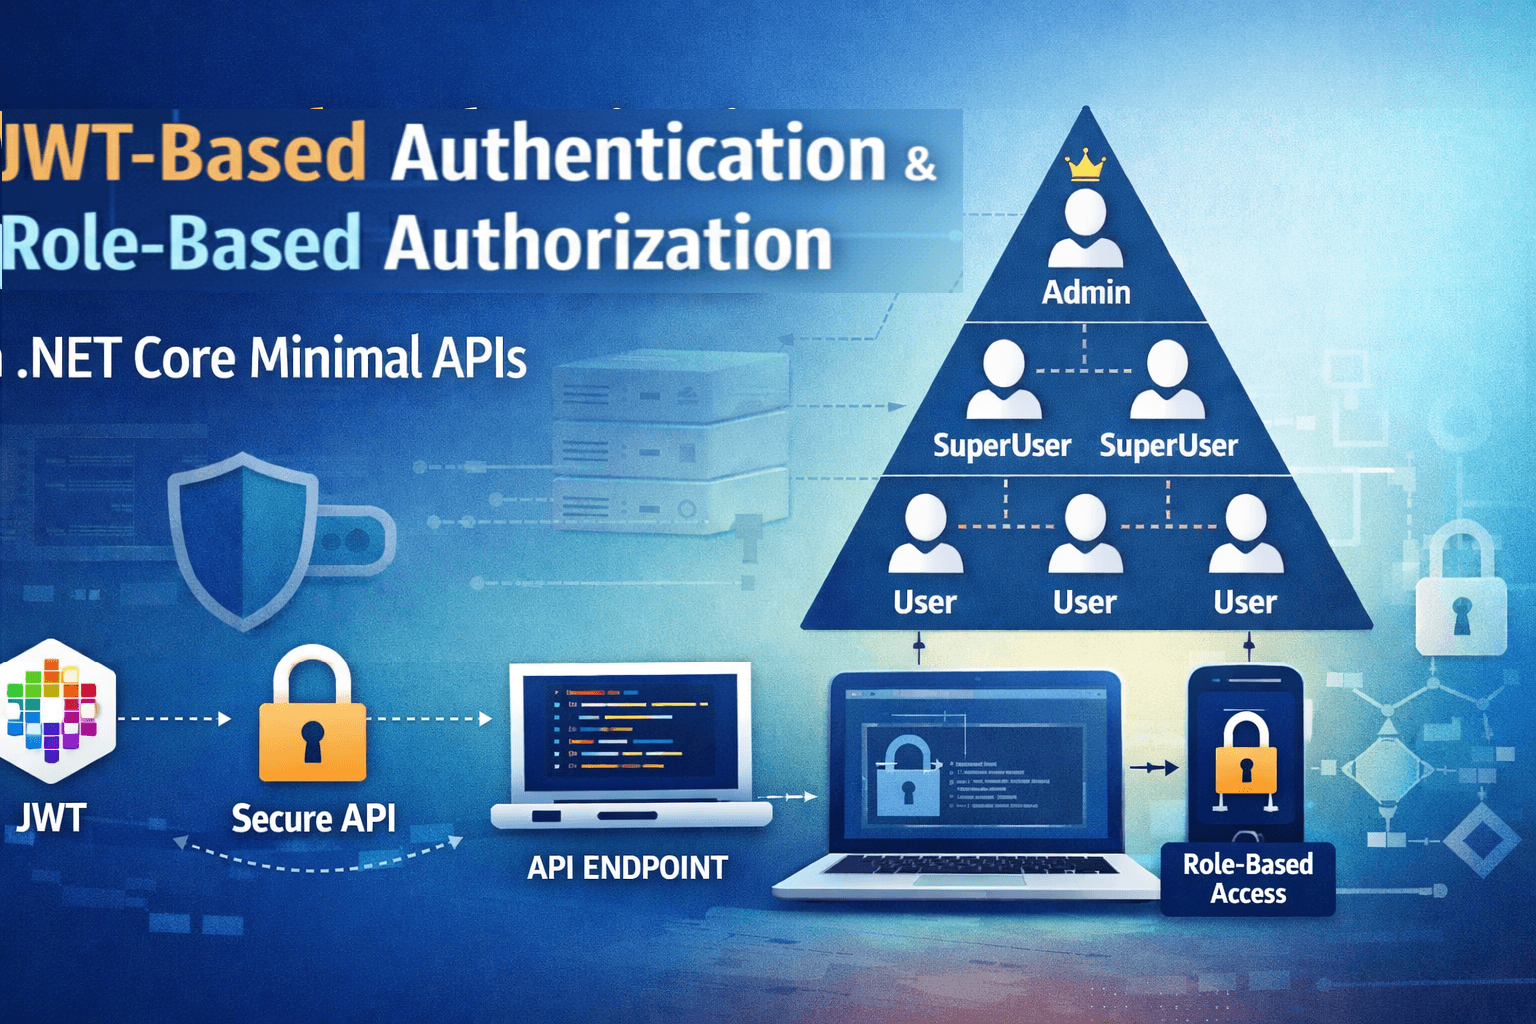
Implementing JWT Tokens in Minimal API with .NET Core
Traditional authentication methods rely on server-side sessions, which can become difficult to manage as applications scale. JSON Web Tokens (JWT) offer a simpler and more scalable approach by allowing authentication information to travel securely with each request without the server needing to store user session data.
JWT enables stateless authentication allowing user identity and authorization data to be securely stored inside a digitally signed token that travels with each request. With Minimal APIs in .NET Core building lightweight and high-performance APIs has become easier. When combined with JWT authentication developers can create secure APIs with minimal setup and clean, readable code.
In this article, we’ll walk through the steps on how to implement JWT authentication in a .NET Core Minimal API . We’ll also understand how tokens store user information through claims, how roles are validated and how authorization works behind the scenes.
SetUp
Create a new ASP.NET core Web API project and select .NET 10.0 framework(preferred). Also ensure that you check the “Enable OpenAPI support” option

Add the following Nuget packages to the project
dotnet add package Microsoft.AspNetCore.Authentication.JwtBearer --version 10.0.3
dotnet add package Microsoft.AspNetCore.OpenApi --version 10.0.0
dotnet add package Scalar.AspNetCore --version 2.11.10
Starting with .NET 9 Swagger (Swashbuckle) is no longer included by default in the web API templates. So we would instead be using Scalar for API documentation.
I have an upcoming article on how to use and customize Scalar UI in your .NET core projects.
Just a quick heads-up on how to use it. Add the Scalar NuGet package as mentioned earlier. Once done you can configure it through the following settings in Program.cs
app.MapScalarApiReference(options =>
{
    options.Title = "Scalar API";
    options.DarkMode = true;
    options.Favicon = "path";
    options.DefaultHttpClient = new KeyValuePair<ScalarTarget, ScalarClient>(ScalarTarget.CSharp, ScalarClient.RestSharp);
    options.HideModels = false;
    options.Layout = ScalarLayout.Classic;
    options.ShowSidebar = true;

    options.Authentication = new ScalarAuthenticationOptions
    {
        PreferredSecuritySchemes = new List<string> { "Bearer" }
    };
});
I will explain the settings in details in my other article related to Scalar where I will give a detailed walkthrough on how to use it and overcome some of the major drawbacks.
In the next step, configure the JWT key, issuer and audience values in the appsettings.json file of the project.
"Jwt": {
    "Key": "THIS_IS_SUPER_SECRET_KEY_123456789",
    "Issuer": "MinimalApiDemo",
    "Audience": "MinimalApiDemoUsers"
}
We can read the above values through
var jwtSettings = builder.Configuration.GetSection("Jwt");
Now we set the JWT configuration on how incoming tokens should be validated before allowing access to the API calls and establish validation rules that the token must satisfy.
builder.Services.AddAuthentication().AddJwtBearer(options =>
    {
        options.TokenValidationParameters = new TokenValidationParameters
        {
            ValidateIssuer = true,
            ValidateAudience = true,
            ValidateLifetime = true,
            AuthenticationType = JwtBearerDefaults.AuthenticationScheme,
            ValidateIssuerSigningKey = true,
            ValidIssuer = jwtSettings["Issuer"],
            ValidAudience = jwtSettings["Audience"],
            IssuerSigningKey = new SymmetricSecurityKey(
            Encoding.UTF8.GetBytes(jwtSettings["Key"]))
        };
    });
In the code above, the system checks the issuer ensuring that the token is a Bearer type and was created by a trusted authority which prevents tokens generated by unknown sources from being accepted.
Next, it validates the audience and cross checking it with the value set in appsettings.json (jwtSettings["Audience"]) to confirm that the token was intended only for this application .The configuration also verifies the lifetime of the token ensuring that the token has not expired. Expired tokens are automatically rejected.
ValidateIssuerSigningKey is set to true to ensure that the JWT token was signed using the trusted secret key which we have set in appsettings.json under the Key value. The signing key is created using the secret JWT key stored in appsettings.json which is converted into a security key used to validate the token signature.
In the next step we will validate the tokens and check the claims in the token through the "/login" route
app.MapPost("/login", async (string username, string password, IConfiguration config) =>
{

    if (password != "123")
        return Results.Unauthorized();

    string role = username switch
    {
        "admin@email.com" => "Admin",
        "superuser@email.com" => "SuperUser",
        "user@email.com" => "User"
    };

    var claims = new[]
    {
        new Claim(ClaimTypes.Name, username),
        new Claim(ClaimTypes.Role, role)
    };

    var key = new SymmetricSecurityKey(
        Encoding.UTF8.GetBytes(config["Jwt:Key"]!));

    var creds = new SigningCredentials(key, SecurityAlgorithms.HmacSha256);

    var token = new JwtSecurityToken(
        issuer: config["Jwt:Issuer"],
        audience: config["Jwt:Audience"],
        claims: claims,
        expires: DateTime.UtcNow.AddHours(1),
        signingCredentials: creds);

    var jwt = new JwtSecurityTokenHandler().WriteToken(token);

    return Results.Ok(new { token = jwt });
})
.WithOpenApi();
In the code above we inject IConfiguration to read the key settings from appsettings.json. For the sake of this article we deny logins whose passwords ≠ 123.
We validate three user types
Admin » login with admin@email.com
SuperUser » login with superuser@email.com
User » login with user@email.com
Based on the login, a role is assigned. This role determines what API endpoints the user can access later through authorization policies.
We then set the claims based on the logins and validate the token signature and create the security key and signing credentials to finally generate the JWT token and return it in form of string to authenticate protected routes.
The idea is that :
Admin will have access to the
“/adminonly”,“/admin_superuseronly" and "/admin_superuser_useronly" routeSuperUser will have access ONLY to the “
/admin_superuseronly" route and "/admin_superuser_useronly" route and denied access to the“/adminonly”routeUser will have access to ONLY the "
/admin_superuser_useronly" route and denied access to“/adminonly”and "/admin_superuser_useronly" routes
To get start implementing we have to define the policies first. We register AddAuthorization service and define three policies.
builder.Services.AddAuthorization(options =>
{
    options.AddPolicy("AdminOnly", policy =>
        policy.RequireClaim(ClaimTypes.Role, "Admin"));

    options.AddPolicy("Admin&SuperUserOnly", policy =>
        policy.RequireClaim(ClaimTypes.Role, "Admin", "SuperUser"));

    options.AddPolicy("Admin&SuperUser&UserOnly", policy =>
       policy.RequireClaim(ClaimTypes.Role, "Admin", "SuperUser","User"));
}
);
“AdminOnly” policy allows ONLY Admins as members
“Admin&SuperUserOnly” policy allows ONLY Admins and SuperUsers as members
“Admin&SuperUserOnly&UserOnly” policy allows Admins, SuperUsers and Users as members
Now we set the relevant routes alongside the authorization policies to control which users can access specific endpoints based on their roles.
We define three routes
“
/adminonly” » Only Admin has access to it“
/admin_superuseronly" » Only Admin and SuperUser have access to it"
/admin_superuser_useronly" » All i.e. Admin, SuperUser and User have access to it
In all the routes we inject ClaimsPrincipal
“/adminonly” route »
app.MapGet("/adminonly", async (ClaimsPrincipal claims) =>
{
    return Results.Ok(new { message = $"Welcome  {claims.Identity.Name}" });
})
.RequireAuthorization("AdminOnly");
“/admin_superuseronly" route »
app.MapGet("/admin_superuseronly", async (ClaimsPrincipal claims) =>
{
    return Results.Ok(new { message = $"Welcome {claims.Identity.Name}" });
})
.RequireAuthorization("Admin&SuperUserOnly");
"/admin_superuser_useronly" route »
app.MapGet("/admin_superuser_useronly", async (ClaimsPrincipal claims) =>
{
    return Results.Ok(new { message = $"Welcome {claims.Identity.Name}" });
})
.RequireAuthorization("Admin&SuperUser&UserOnly");
That’s it.. Lets test the logins.
Note: The authorization token obtained must be included in the request header for every route call.
Login into the “/login” route as “Admin” » Username : admin@email.com , Password : 123 and obtain the token for the Admin login.
When we login into all the three routes as an Admin, the logins should succeed for all of them.

As you can see in the above screencast , the Admin login to all routes succeeded.
Now we login into the “/login” route as “Superuser” » Username : superuser@email.com , Password : 123 and obtain the token for the Superuser login.
When we login into all the three routes as an Superuser, the login to the Admin route should fail but succeed for the other two.

Finally, login into the “/login” route as “User” » Username : user@email.com , Password : 123 and obtain the token for the user login.
The login should fail for all routes except the “/user” route.

Conclusion
In this article, I have covered the fundamentals of JWT-based authentication for Minimal APIs in .NET Core and extended the explanation to include a hierarchical role-based model and how it can be implemented to manage authorization effectively allowing different levels of users to access resources based on their roles and permissions based on the Claims model.
Thanks for reading !!!